
Have you ever found yourself in a pinch needing a quick ID photo but no photo studio nearby? You might be wondering, can you take an ID photo with a webcam? With webcams built into most laptops and desktops these days, it seems like an easy, convenient solution. But is it really that simple? Let’s dive into the world of ID photos and webcams to see if this is a viable option for your official needs.
ID Photo Requirements
Before we dive into whether a webcam can handle taking an ID photo, it’s crucial to understand exactly what official ID photos require here in the U.S. For documents like passports, driver’s licenses, and visas, the government enforces very strict standards. The most common size for a passport photo is exactly 2 inches by 2 inches, and this precise sizing matters a lot. The background must be plain white or sometimes an off-white shade, completely free of patterns, shadows, or any distracting elements. Your full face should be clearly visible—looking straight at the camera with a neutral expression. No smiling, no frowning. Accessories such as hats, sunglasses, or headphones are generally prohibited unless you have a valid medical reason, and even then, they must not obscure your face.
Webcam vs Professional ID Photo Services
Professional photo studios hold a clear edge when it comes to meeting all these requirements without fuss. They use high-quality DSLR cameras and have carefully controlled lighting setups that eliminate shadows and highlight your face evenly. These studios also know the exact rules, so their photographers can position you perfectly and crop the final image to the required dimensions. Additionally, they often provide services like retouching the photo to adjust brightness or remove minor imperfections, all while ensuring the photo remains compliant with official regulations. For many, this guarantees the ID photo will pass government checks without hassle.
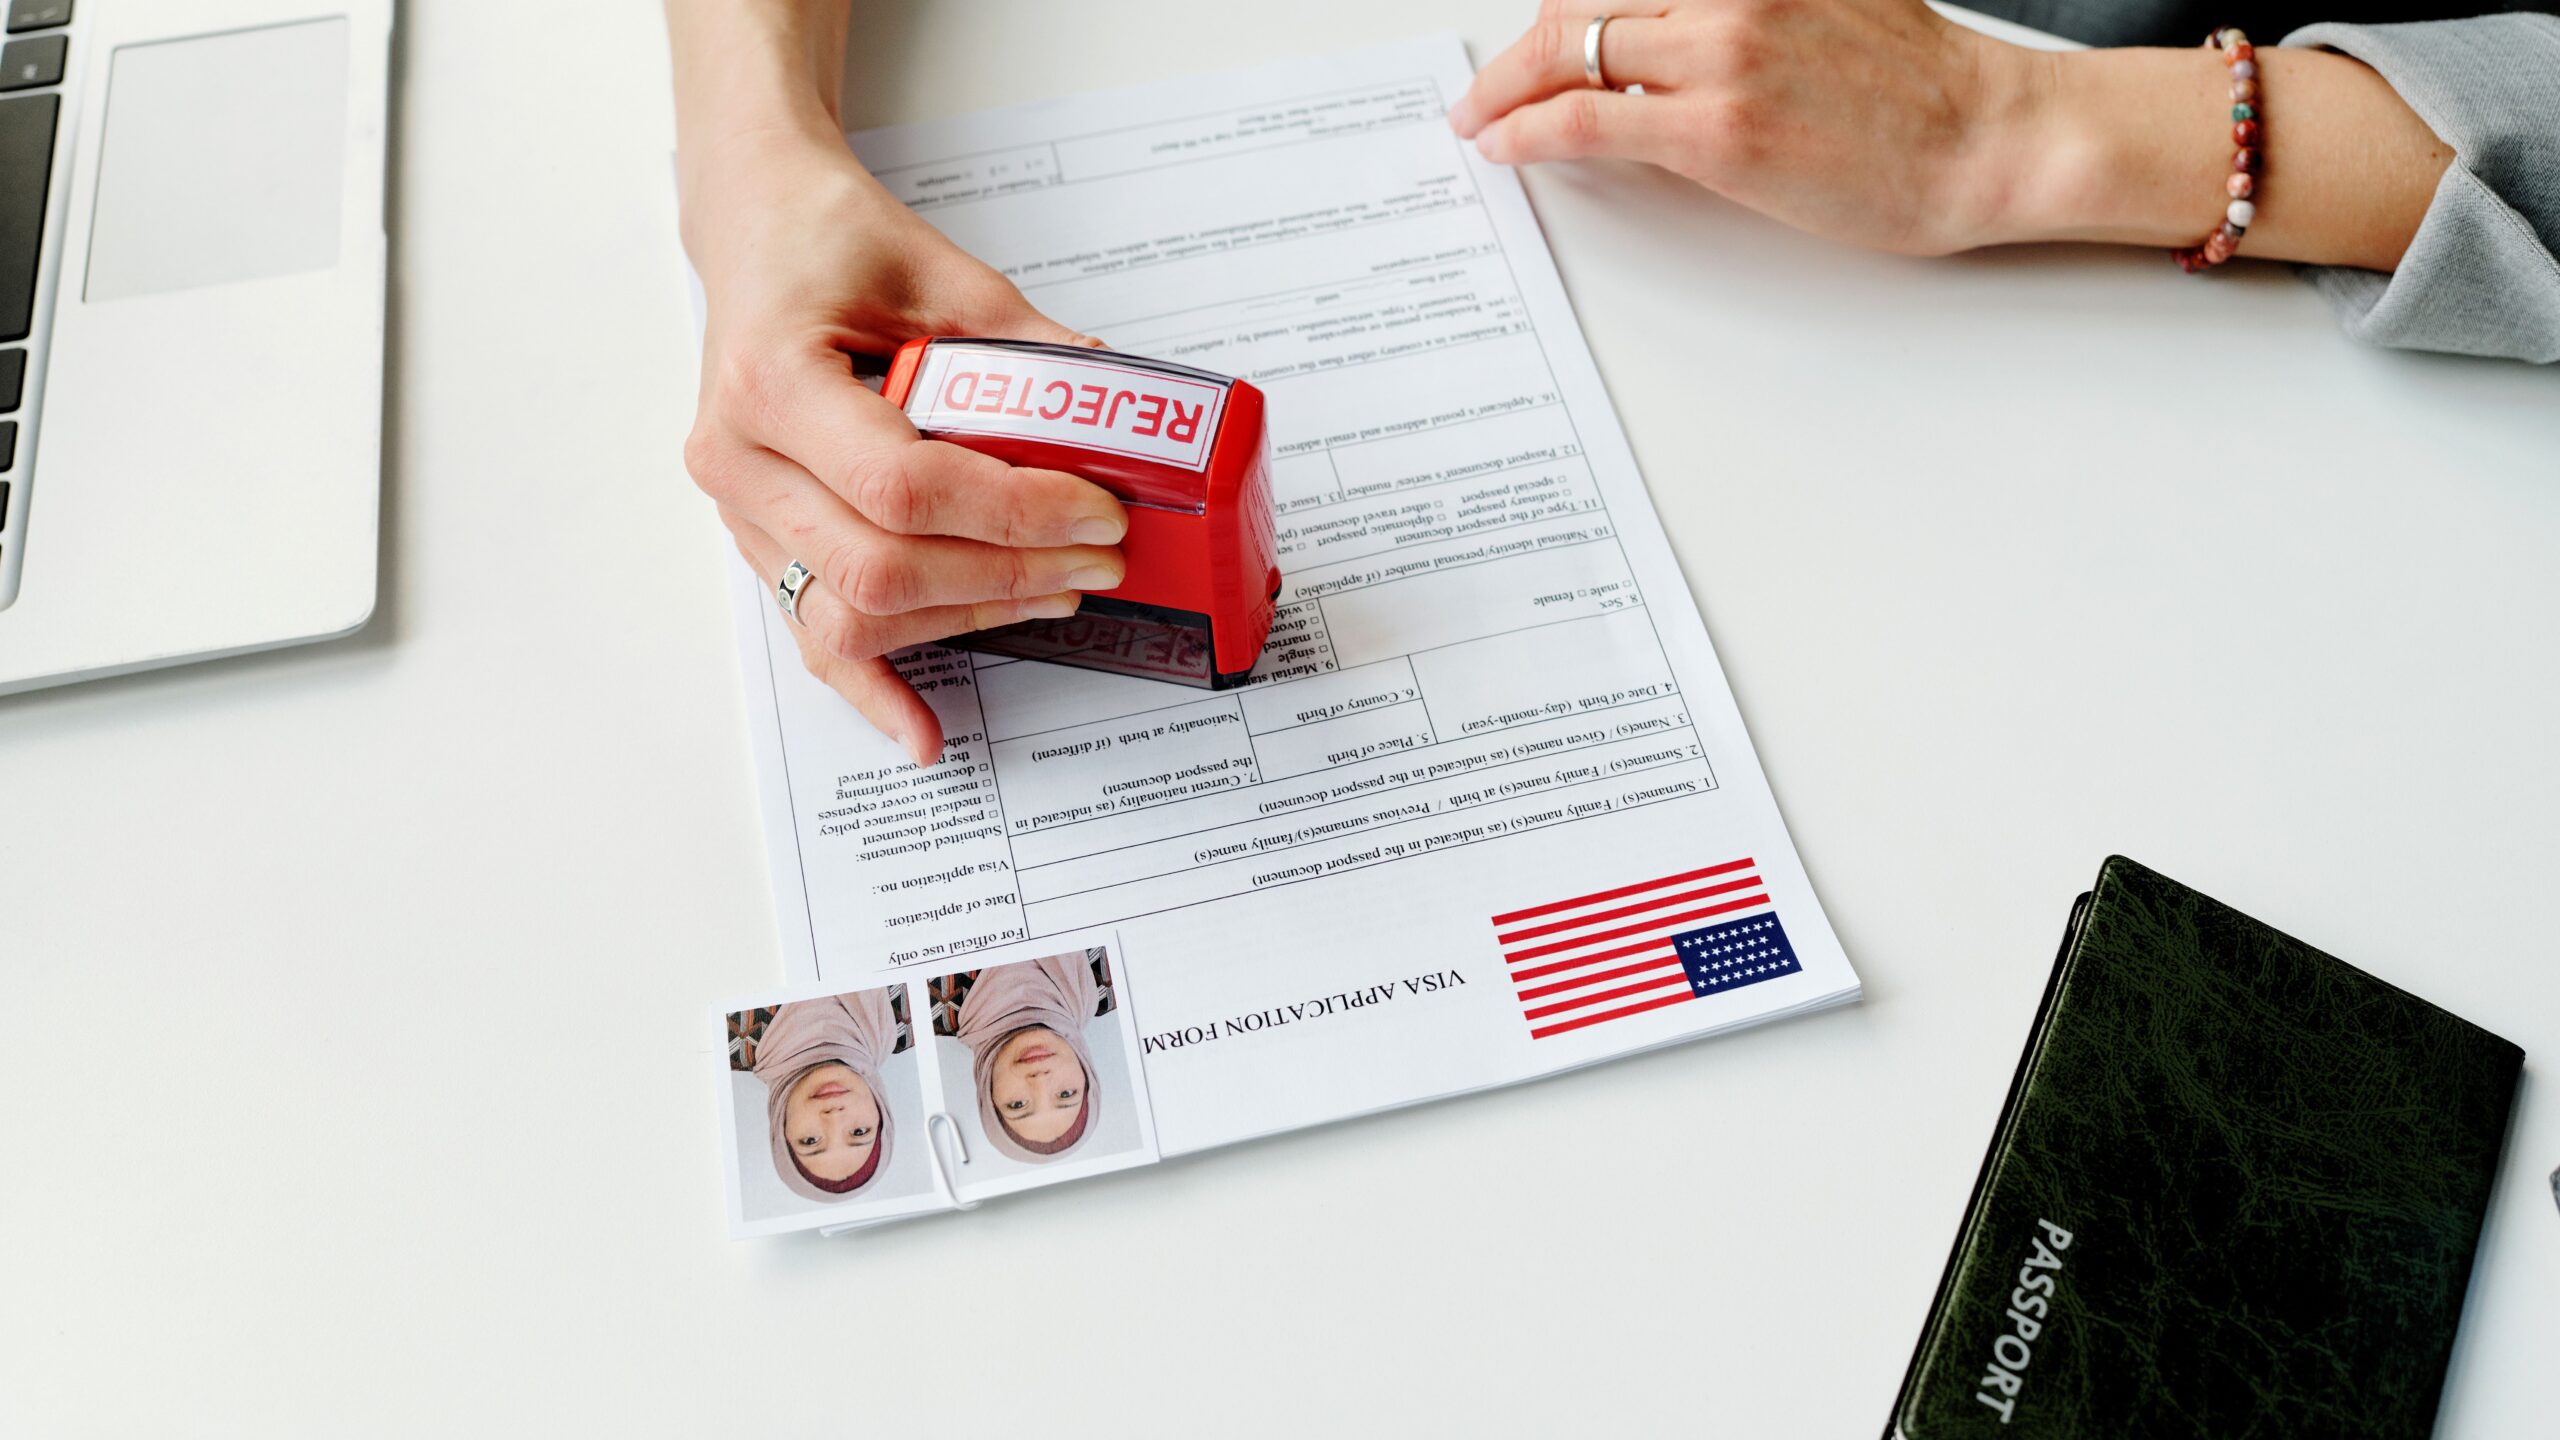
On the flip side, webcams are instantly available and free to use if you already own a laptop or desktop with one built-in. They offer the convenience of snapping a photo at home without scheduling an appointment or leaving your house. However, webcams generally have lower image quality than professional cameras and struggle with inconsistent lighting, often creating unwanted shadows or grainy images. They don’t automatically produce the correct background or size, so you must do some manual work to edit and format your photo properly. While saving money is great, the convenience of a webcam can come with the risk of your photo being rejected, potentially delaying your ID application and causing frustration.
Technical Aspects of Taking an ID Photo with a Webcam
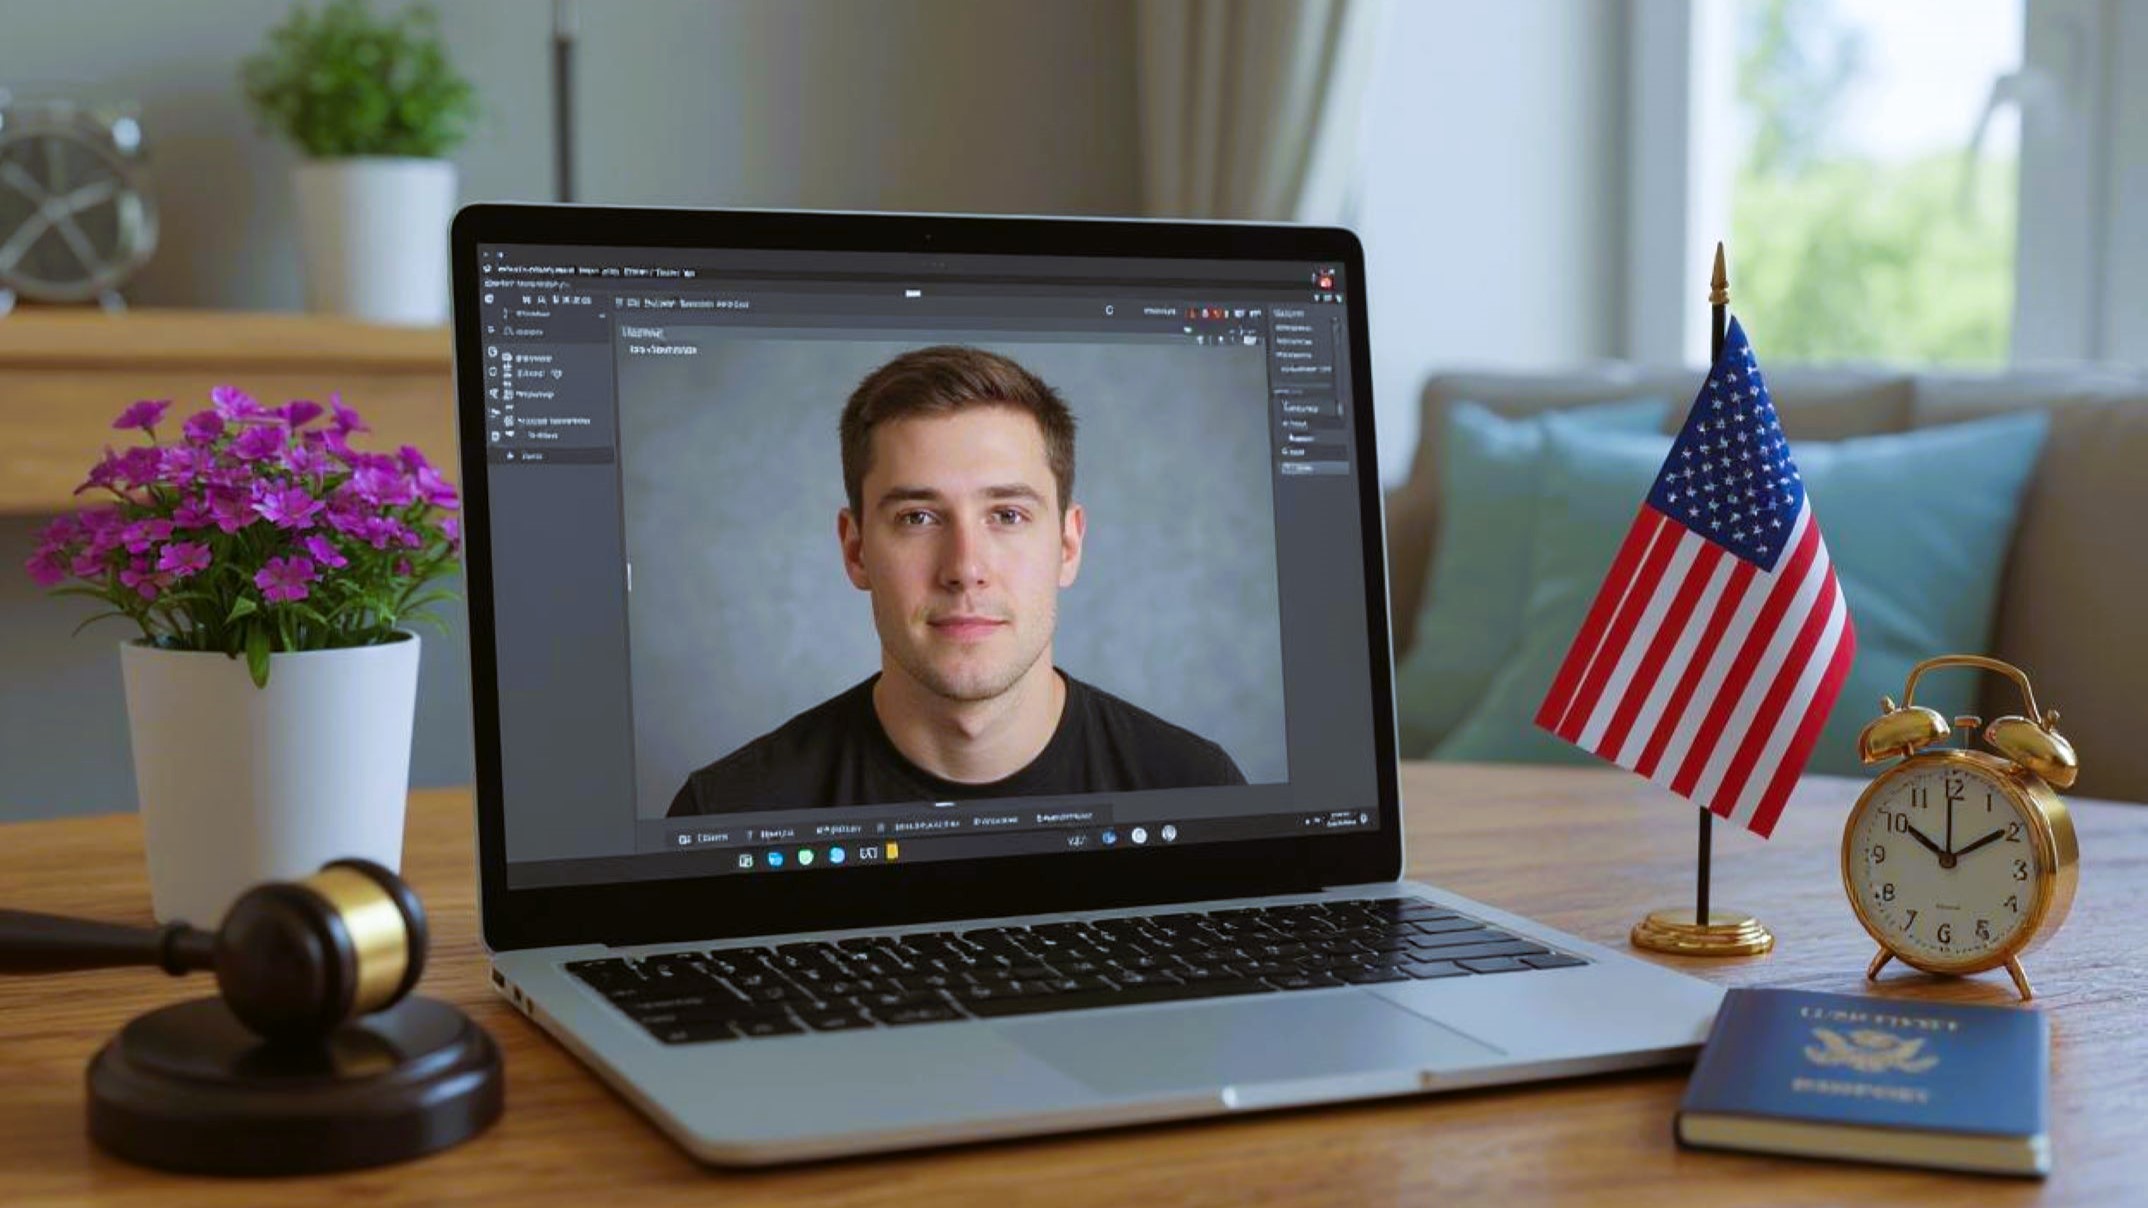
Taking an ID photo with a webcam can be tricky because official ID photos require very specific technical standards to be accepted. To increase your chances of success, you need to carefully consider your webcam’s quality, lighting conditions, and background setup. Each of these factors plays a critical role in producing a clear, compliant photo.
Minimum Webcam Resolution
To meet U.S. official ID photo standards, the resolution of your webcam is one of the most important technical factors. The image needs to be sharp enough for facial recognition and inspection.
- Ideal Resolution: Your webcam should have at least 2 megapixels (MP) resolution. This ensures the image is detailed enough.
- Modern Webcams: Many new webcams built into laptops or sold externally have resolutions higher than 2MP, making them suitable for taking ID photos.
- Older Models: Older or low-quality webcams may produce blurry or pixelated photos, which are often rejected by authorities.
- Why It Matters: A higher resolution captures clearer facial features like eye shape, skin texture, and other unique identifiers needed for official use.
- Check Your Webcam: You can test your webcam’s resolution by taking a photo or checking its specifications online before using it for your ID picture.
Lighting Conditions
Lighting is crucial when taking any official photo, and it can be one of the biggest challenges when using a webcam at home. The right lighting eliminates shadows and helps create a clear, well-lit image that meets government guidelines.
- Natural Light: The best and easiest light source is natural daylight. Sit facing a window during the daytime for soft, even lighting.
- Avoid Direct Sunlight: Harsh, direct sunlight can create glare and deep shadows, which are not allowed.
- Artificial Lighting: If natural light is unavailable, use multiple soft white light sources from different angles (such as desk lamps or ring lights) to brighten your face evenly.
- No Overhead Lights: Avoid overhead lighting alone, as it casts unflattering shadows under the eyes and chin.
- Even Illumination: Make sure both sides of your face and the background are evenly lit to avoid shadows that could cause photo rejection.
Background Setup
One of the strictest ID photo requirements is the background. The background needs to be completely plain, typically white or off-white, without any textures or objects that could distract from your face.
- Use a Plain White Wall: The easiest option is to stand in front of a blank, white wall free of decorations, marks, or shadows.
- Use a White Sheet or Poster Board: If you don’t have a plain wall, hang a white sheet, curtain, or large poster board as your backdrop.
- Avoid Patterns and Textures: Do not use patterned wallpaper, wood paneling, or any textured surfaces as backgrounds because these will cause your photo to fail official checks.
- No Clutter: Make sure nothing else appears in the frame except you and the plain background.
- Check for Shadows: Ensure the background is evenly lit and free of shadows, which can cause the photo to be rejected.
Step-by-Step Guide to Taking Your ID Photo with a Webcam
Taking a good ID photo with a webcam requires careful preparation and attention to detail. To help you follow the process smoothly, here is a detailed guide in easy steps, along with key tips to keep in mind at each stage.
| Step Number | Action | Description | Tips for Best Results |
| 1 | Prepare Your Setup | Choose a plain white background and ensure good lighting. Place your laptop or webcam on a stable surface to avoid shaking. | Use natural daylight or multiple soft lights; clear clutter from the background. |
| 2 | Position Yourself | Sit about 3 feet away from the webcam. Keep your face centered and look straight at the camera. | Keep your head level and shoulders relaxed; avoid tilting your head. |
| 3 | Adjust Camera Settings | Open your webcam software to adjust brightness and focus. Turn off any filters or beautifying effects. | Increase brightness if your face looks dark, and ensure the image is sharp. |
| 4 | Take Multiple Shots | Capture several photos to pick the one with the best expression and lighting. | Blink-free, clear shots with no shadows or glare work best. |
By following these steps closely, you can maximize the chance that your webcam photo will meet official requirements. Preparation is key: a well-lit, distraction-free background and proper positioning can make a huge difference in quality. Taking multiple shots allows you to choose the best possible image, avoiding common issues like blinking or odd angles.
Common Mistakes When Using a Webcam for ID Photos
Even with good instructions, many people make avoidable errors when using webcams for ID photos. The most frequent mistakes often relate to lighting, background, framing, and ignoring official rules.
Poor lighting is perhaps the biggest culprit. Harsh shadows or dim, uneven light can obscure your facial features, causing your photo to be rejected. Make sure your face and background are evenly lit from multiple angles. Another common mistake is using the wrong background—patterns, colors, or cluttered spaces can distract from your face and do not meet official standards requiring a plain white backdrop.
Framing is another area where errors occur. Many webcam photos cut off the top of the head, crop out shoulders, or include uneven amounts of space around the face. Your face needs to be centered with enough room for your entire head and upper shoulders. Finally, ignoring official guidelines—such as not maintaining a neutral expression, smiling, or wearing prohibited accessories—can lead to your photo being rejected. Always review the specific requirements before submitting your photo.
Editing and Formatting Your Webcam ID Photo
Once you’ve taken a decent webcam photo, some editing is usually necessary to meet official standards. The first and most important step is cropping the photo to the exact size required by the issuing agency—often 2×2 inches for U.S. passports. Make sure the crop includes your full head and the top of your shoulders, leaving enough space around your face but not too much empty background.
Adjustments to brightness and contrast can help enhance your photo, especially if the lighting was less than perfect. However, be careful not to over-edit; excessive brightening, color changes, or smoothing effects can distort your natural appearance and may cause your photo to be rejected. Some official guidelines allow background removal or replacement, but this must be done carefully and only if explicitly permitted. Finally, save your edited photo in the accepted format, usually JPEG, and ensure the file size meets the submission requirements.
Legal and Official Acceptance of Webcam ID Photos
The acceptance of webcam photos for official documents varies depending on the type of ID and the issuing agency’s rules. In the United States, for example, passport photos can legally be taken at home with a webcam or smartphone as long as they strictly follow the government’s specifications. The U.S. Department of State provides detailed guidelines to ensure photos taken at home are accepted without issue.
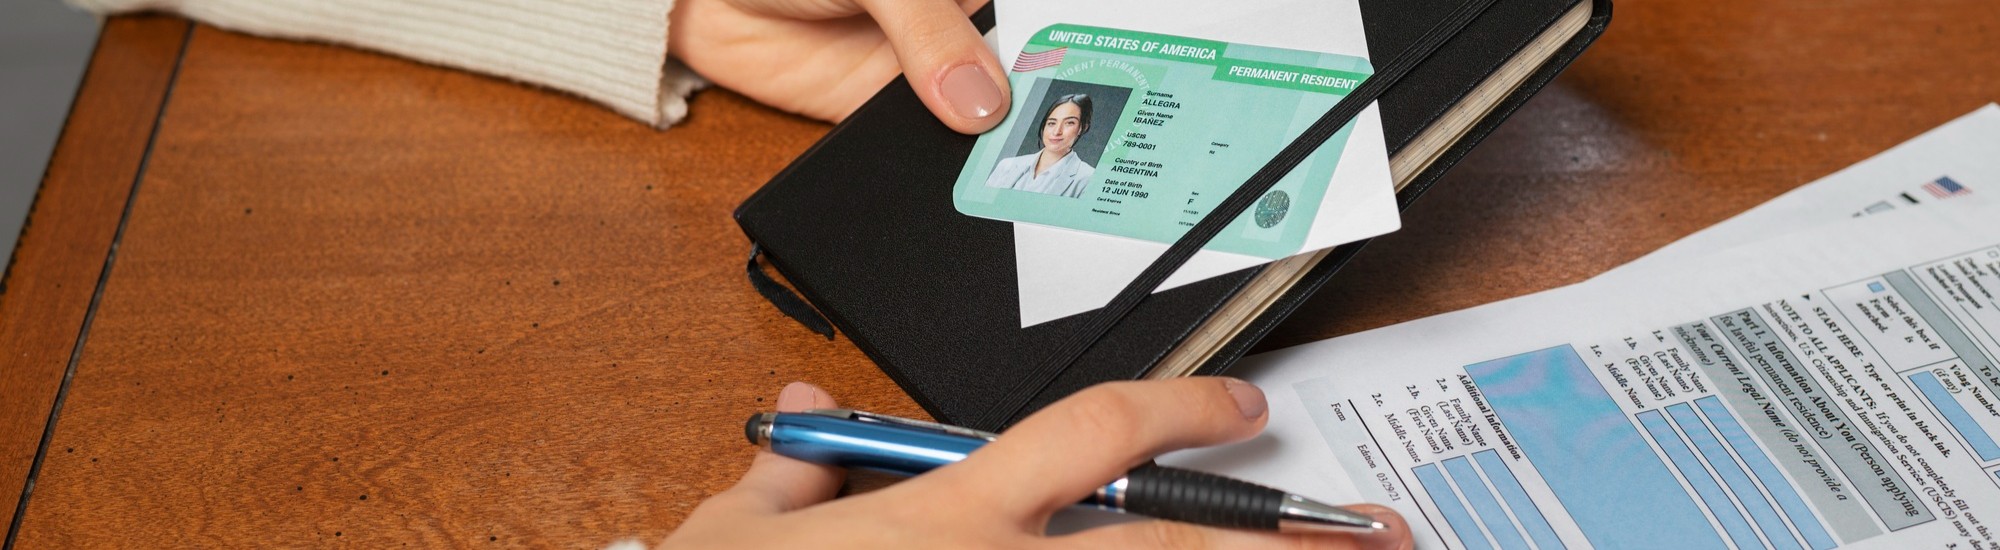
However, other documents like driver’s licenses or visas may have stricter requirements. Some states or agencies might require photos taken by professional studios or approved vendors to guarantee quality and compliance. Using a webcam photo that doesn’t meet these standards risks your application being delayed or rejected, which means additional time and cost for retaking the photo. Because of this, it’s wise to check official guidelines thoroughly and proceed with caution if using a webcam photo.