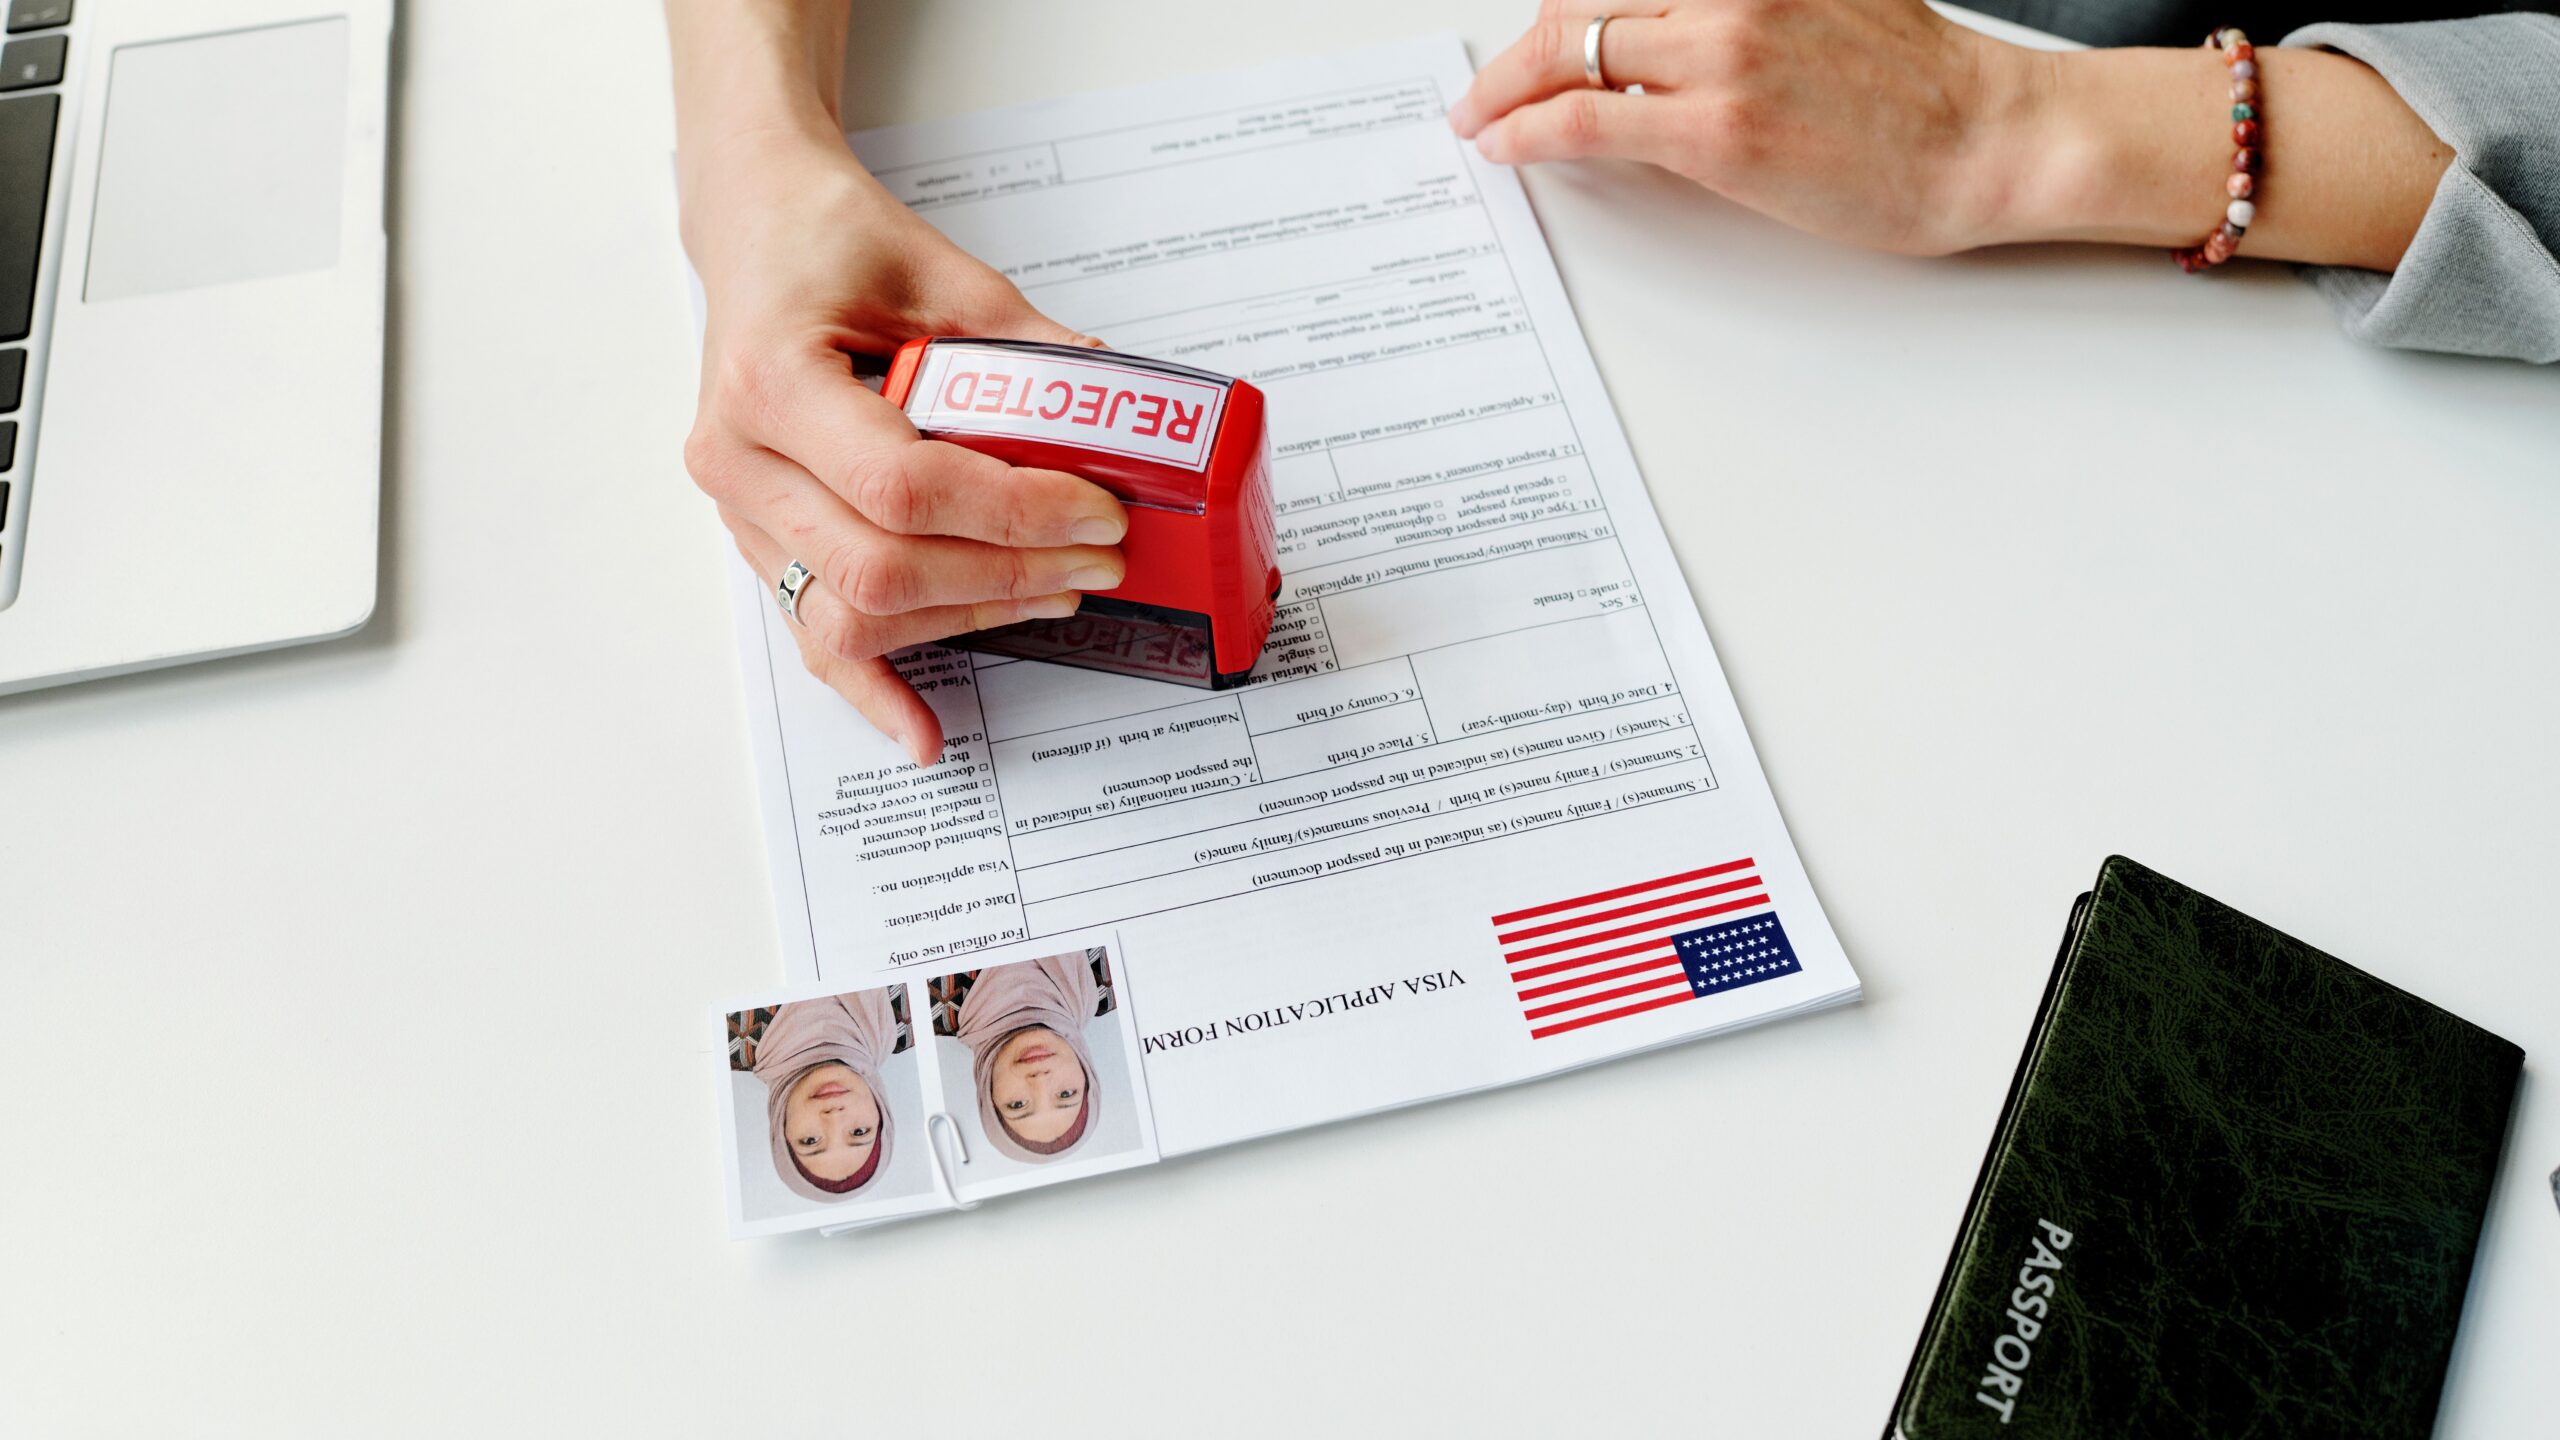
Applying for a visa or passport is an exciting step toward your next adventure — but nothing can be more frustrating than having your embassy photo rejected. Believe me, this is one of the most common hurdles applicants face, and it’s usually due to avoidable mistakes. In this article, I’ll walk you through the typical photo rejection issues you may encounter, how to avoid them, and what to do if your photo gets rejected.
Embassy Photo Requirements
When applying for a U.S. visa or passport, one of the most critical parts of your submission is the photo you provide. U.S. embassies and consulates enforce very specific photo requirements to ensure your image can be accurately used for identification and security purposes. These requirements are not arbitrary; they are designed to support biometric matching technologies and help officials verify your identity efficiently. A photo that doesn’t meet these standards may result in delays or outright rejection of your application, causing frustration and wasting precious time.
Why Embassy Photos Are Important
Embassy photos are more than just a picture; they are an official tool used to verify your identity at multiple checkpoints throughout your travel process. When you apply for a U.S. visa or passport, this photo is linked to your application and stored in secure databases. Immigration officers, customs agents, and other officials rely on this image to confirm that the person presenting the travel document matches the approved photo. A clear and compliant photo reduces the risk of identity fraud and streamlines your journey through border controls.
Moreover, as biometric technology advances, these photos become even more important. Facial recognition systems scan your embassy photo to match your live appearance, so any discrepancy can cause complications. If your photo is unclear, outdated, or does not meet the set standards, the system may flag your application for manual review or rejection. This is why embassies insist on strict photo specifications to maintain safety and efficiency in international travel.
General Standards for Embassy Photos
While there are minor variations depending on the country, most embassies, especially the U.S., have very strict photo standards that applicants must follow. These standards include specific dimensions, background colors, head positioning, and facial expressions. For example, the U.S. requires a 2×2 inch photo with a white or off-white background, where the subject faces the camera directly with a neutral expression. These rules ensure that photos are uniform and easily processed by automated systems.
Standardization also helps prevent fraudulent submissions and misidentifications. The guidelines cover not only size and background but also factors like lighting, shadows, and whether you’re wearing glasses or headwear. For instance, while religious head coverings are permitted, they must not obscure your face. Adhering strictly to these standards not only helps your application get accepted faster but also prevents unnecessary delays caused by photo rejection.
Typical Photo Specifications for Embassy Submissions
Embassy photos must meet very precise technical specifications to be accepted. These specifications cover everything from the physical size of the photo to the facial area visible within the frame. Understanding and following these specifications is essential to avoid delays or rejections during your visa or passport application.
The main photo specifications you must comply with include:
- Photo size: Exactly 2×2 inches (51×51 mm) for U.S. submissions
- Head size: The head (measured from chin to crown) should be between 1 inch and 1 3/8 inches (25 mm to 35 mm)
- Background: Plain white or off-white, without any patterns or shadows
- Color: The photo must be in color, not black and white
- Recentness: Taken within the last six months to reflect your current appearance
Photo Size and Dimensions
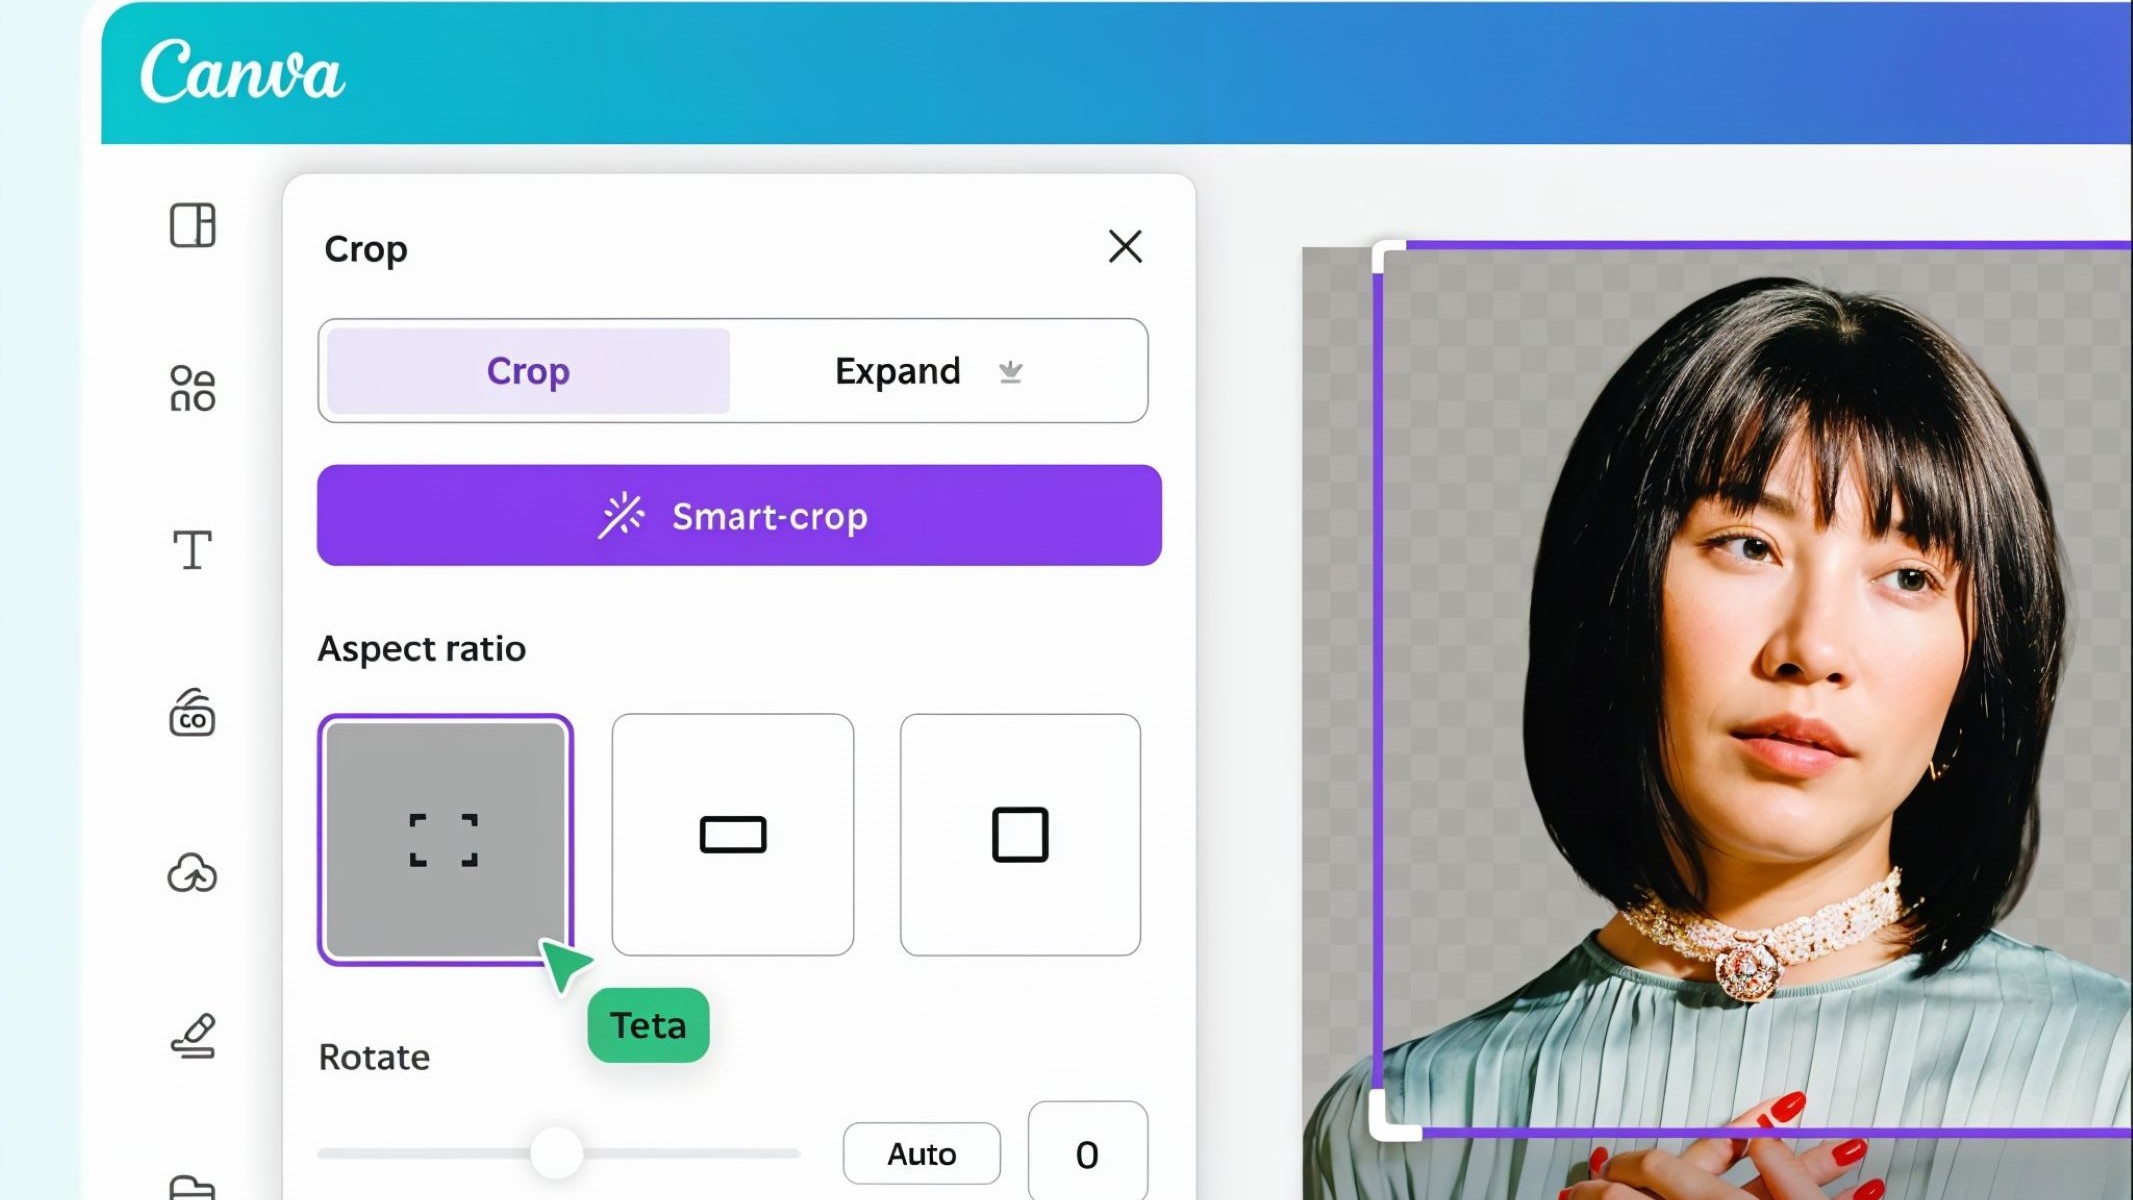
The size of your photo is one of the most frequently overlooked but critical requirements for U.S. embassy submissions. The official size for a U.S. visa or passport photo is 2×2 inches (51×51 mm). This exact measurement ensures the photo fits the machine-readable zone of the travel document and complies with international standards. Any photo larger or smaller than this size can be rejected outright.
Additionally, the head size within the photo must fall between 1 inch and 1 3/8 inches (25 mm to 35 mm) from the bottom of the chin to the top of the head. This ensures your face is prominent enough for facial recognition software to accurately identify you but not so close that parts of the head are cropped out. Incorrect cropping or scaling of the image is a common reason for photo rejection, so measuring these dimensions carefully before submission is essential.
Background Requirements
One of the most important but simple rules for embassy photos is the background color and clarity. The U.S. embassy requires a plain white or off-white background, free from any patterns, shadows, or objects. This uniform background helps make your face stand out clearly and prevents distractions that could interfere with automated facial recognition systems.
Busy or colored backgrounds are a frequent cause of photo rejection. For example, walls with wallpaper, visible furniture, or shadows can cause problems when scanning the photo. If your photo does not have a clean, bright, and uniform background, it is likely to be rejected. Simple tips to meet this requirement include taking the photo against a blank wall or using a professional photography service that understands embassy standards.
Lighting and Exposure Standards
Proper lighting is vital in embassy photos. Your face should be evenly lit with no harsh shadows, glare, or reflections. Photos taken in dim lighting or with strong directional light can create shadows that obscure facial features, making it difficult for officials and biometric software to identify you accurately.
The photo must not be overexposed or underexposed — too bright or too dark images are typically rejected. Ideally, the lighting should be natural or use soft artificial light that illuminates the entire face evenly. Avoid photos where reflections from glasses or shiny skin cause glare. Good lighting ensures your facial features, such as eyes, nose, and mouth, are clearly visible and identifiable.
Most Common Photo Rejection Issues
Submitting the correct photo is one of the most critical steps in any embassy application process. Unfortunately, many applicants face rejection due to common but avoidable mistakes. One of the leading causes is submitting a photo with incorrect size or resolution. Photos that are too large, too small, or blurry due to low resolution do not meet biometric standards. These images often appear pixelated or unclear when scanned by automated systems, making it impossible for officials to verify your identity properly. Even if the picture looks fine on your screen, it may fail once printed or digitally processed. This mistake alone causes many applications to be delayed or rejected outright.
Another frequent issue is improper background color or pattern. Embassy photos almost always require a plain white or off-white background, free of shadows, objects, or any texture. Backgrounds with patterns, colors, or uneven lighting can confuse the scanning software, causing it to misread facial features or reject the photo. Many applicants unintentionally submit photos taken in front of colored walls, patterned wallpaper, or outdoor scenes, which leads to rejection. The importance of a clean, simple background cannot be overstated—it ensures your face stands out clearly for identification.
Poor lighting and shadows on the face also contribute heavily to photo rejection. Lighting should be even and soft, illuminating the entire face without casting shadows on your features or the background. Shadows can distort your appearance and create areas of darkness that make identification difficult for both humans and machines. Harsh lighting, reflections, or glare from glasses can also interfere with the image clarity. A photo taken under uneven lighting conditions often results in rejection, forcing applicants to retake their pictures. Correct lighting not only enhances the photo’s quality but ensures it passes the strict standards required by embassies.
| Issue | Description | Reason for Rejection | Tips to Avoid |
| Incorrect Photo Size/Resolution | Photo is too large, too small, or blurry | Blurry or pixelated photos cannot be processed properly | Use precise measurements and high-resolution cameras |
| Improper Background Color/Pattern | Background is not plain white/off-white; has textures or shadows | Confuses facial recognition software | Take photos against a clean, plain white or off-white wall |
| Poor Lighting and Shadows | Shadows cast on face or background; uneven or harsh light | Distorts facial features, reduces clarity | Use soft, even lighting; avoid direct sunlight or flash glare |
Tips to Avoid Photo Rejection
One of the best ways to avoid photo rejection is to use a professional photographer who is experienced with embassy photo requirements. Professionals are familiar with the strict guidelines and technical specifications that must be met, including size, background, lighting, and facial expression. They also have the right equipment to ensure high-resolution, well-lit photos that fit embassy standards perfectly. Investing in a professional service can save time, reduce stress, and increase the likelihood that your photo will be accepted on the first submission.
In addition to professional help, it is essential to carefully read and follow the embassy’s photo guidelines exactly as stated on their official website. Each embassy may have subtle differences in their requirements, so relying on generic advice can be risky. Official embassy websites provide detailed instructions on everything from the correct photo size to acceptable backgrounds and lighting conditions. Ignoring these guidelines or guessing can lead to costly mistakes and application delays.
Before submitting your photo, always check its dimensions and resolution using available photo apps or embassy-provided tools. Many embassies offer online tools or templates to help applicants verify that their photo meets size, head position, and resolution requirements. Utilizing these tools can prevent rejections caused by incorrect cropping, improper scaling, or low image quality. Taking the time to verify your photo before submission reduces the chance of rejection and speeds up the entire application process.