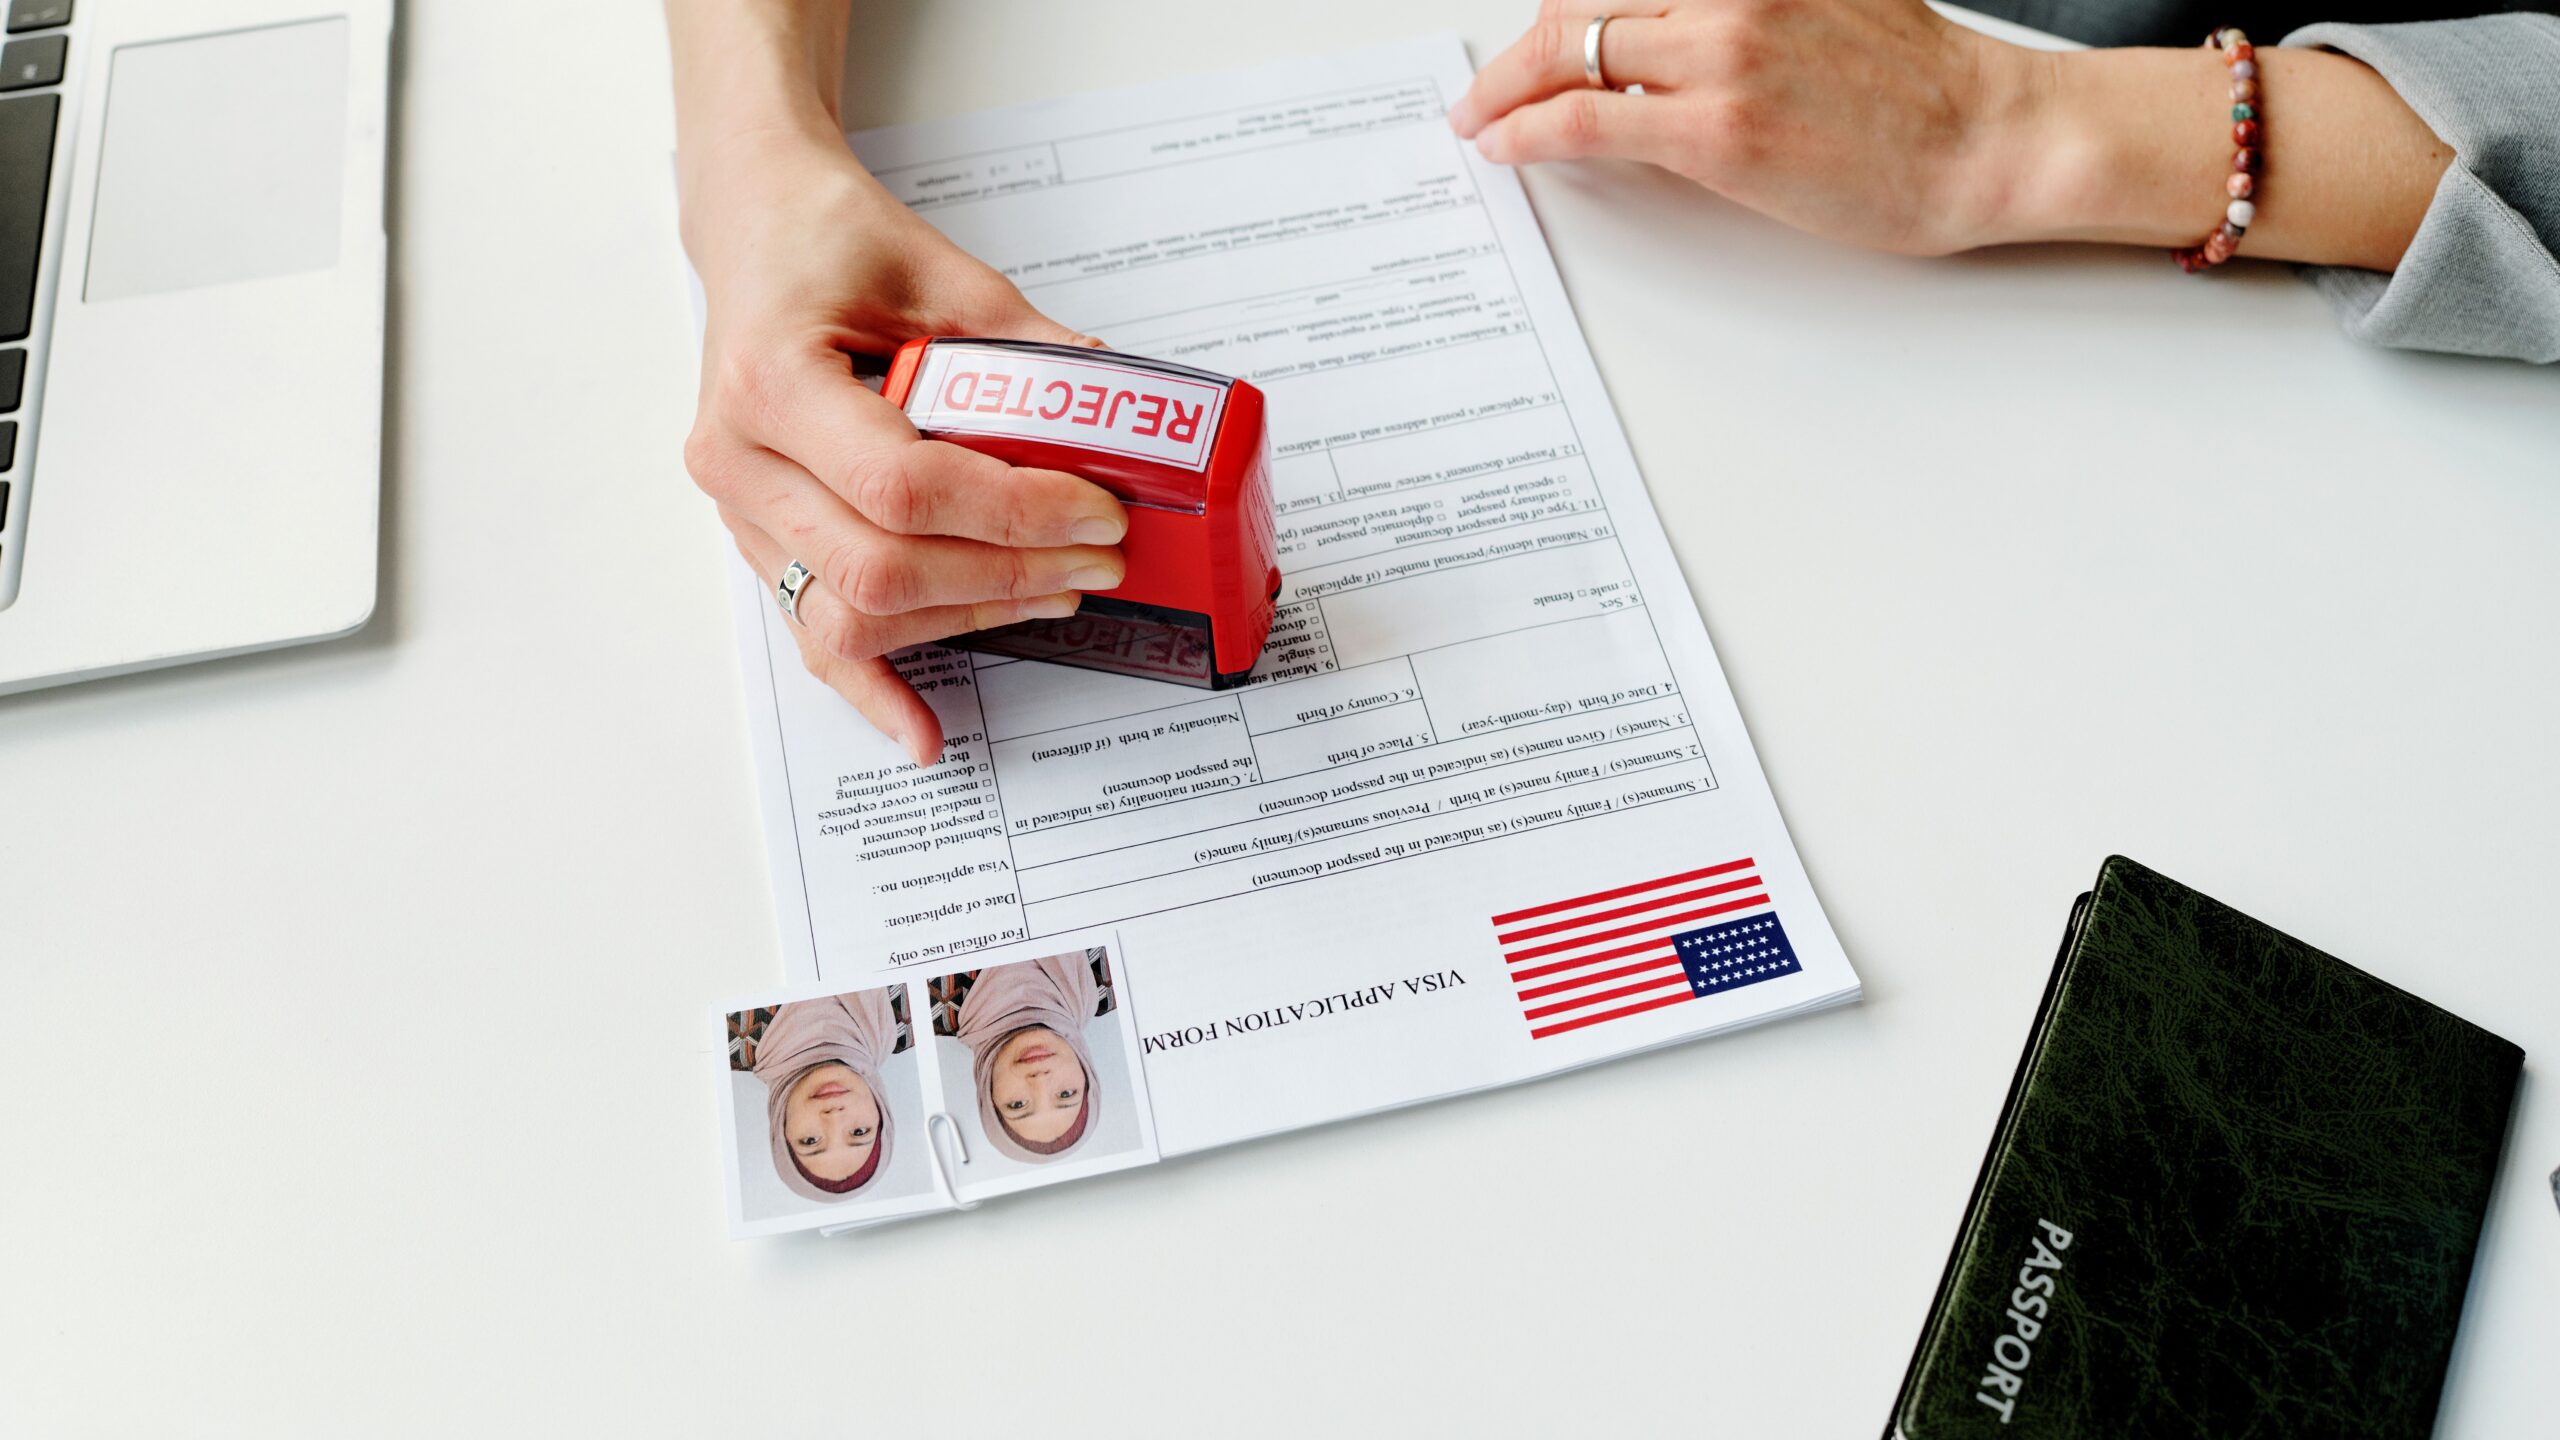
If you’re planning to apply for or renew your US passport in 2025, you need to know that the digital passport photo you submit isn’t just any photo. It’s a critical part of your application because it’s used to verify your identity throughout your travels. Having a photo that meets official specifications helps avoid delays, rejections, or even application denial. Imagine waiting weeks only to find out your photo was the reason your passport was rejected!
Basic Requirements for US Passport Photos 2025
Photo Size and Dimensions
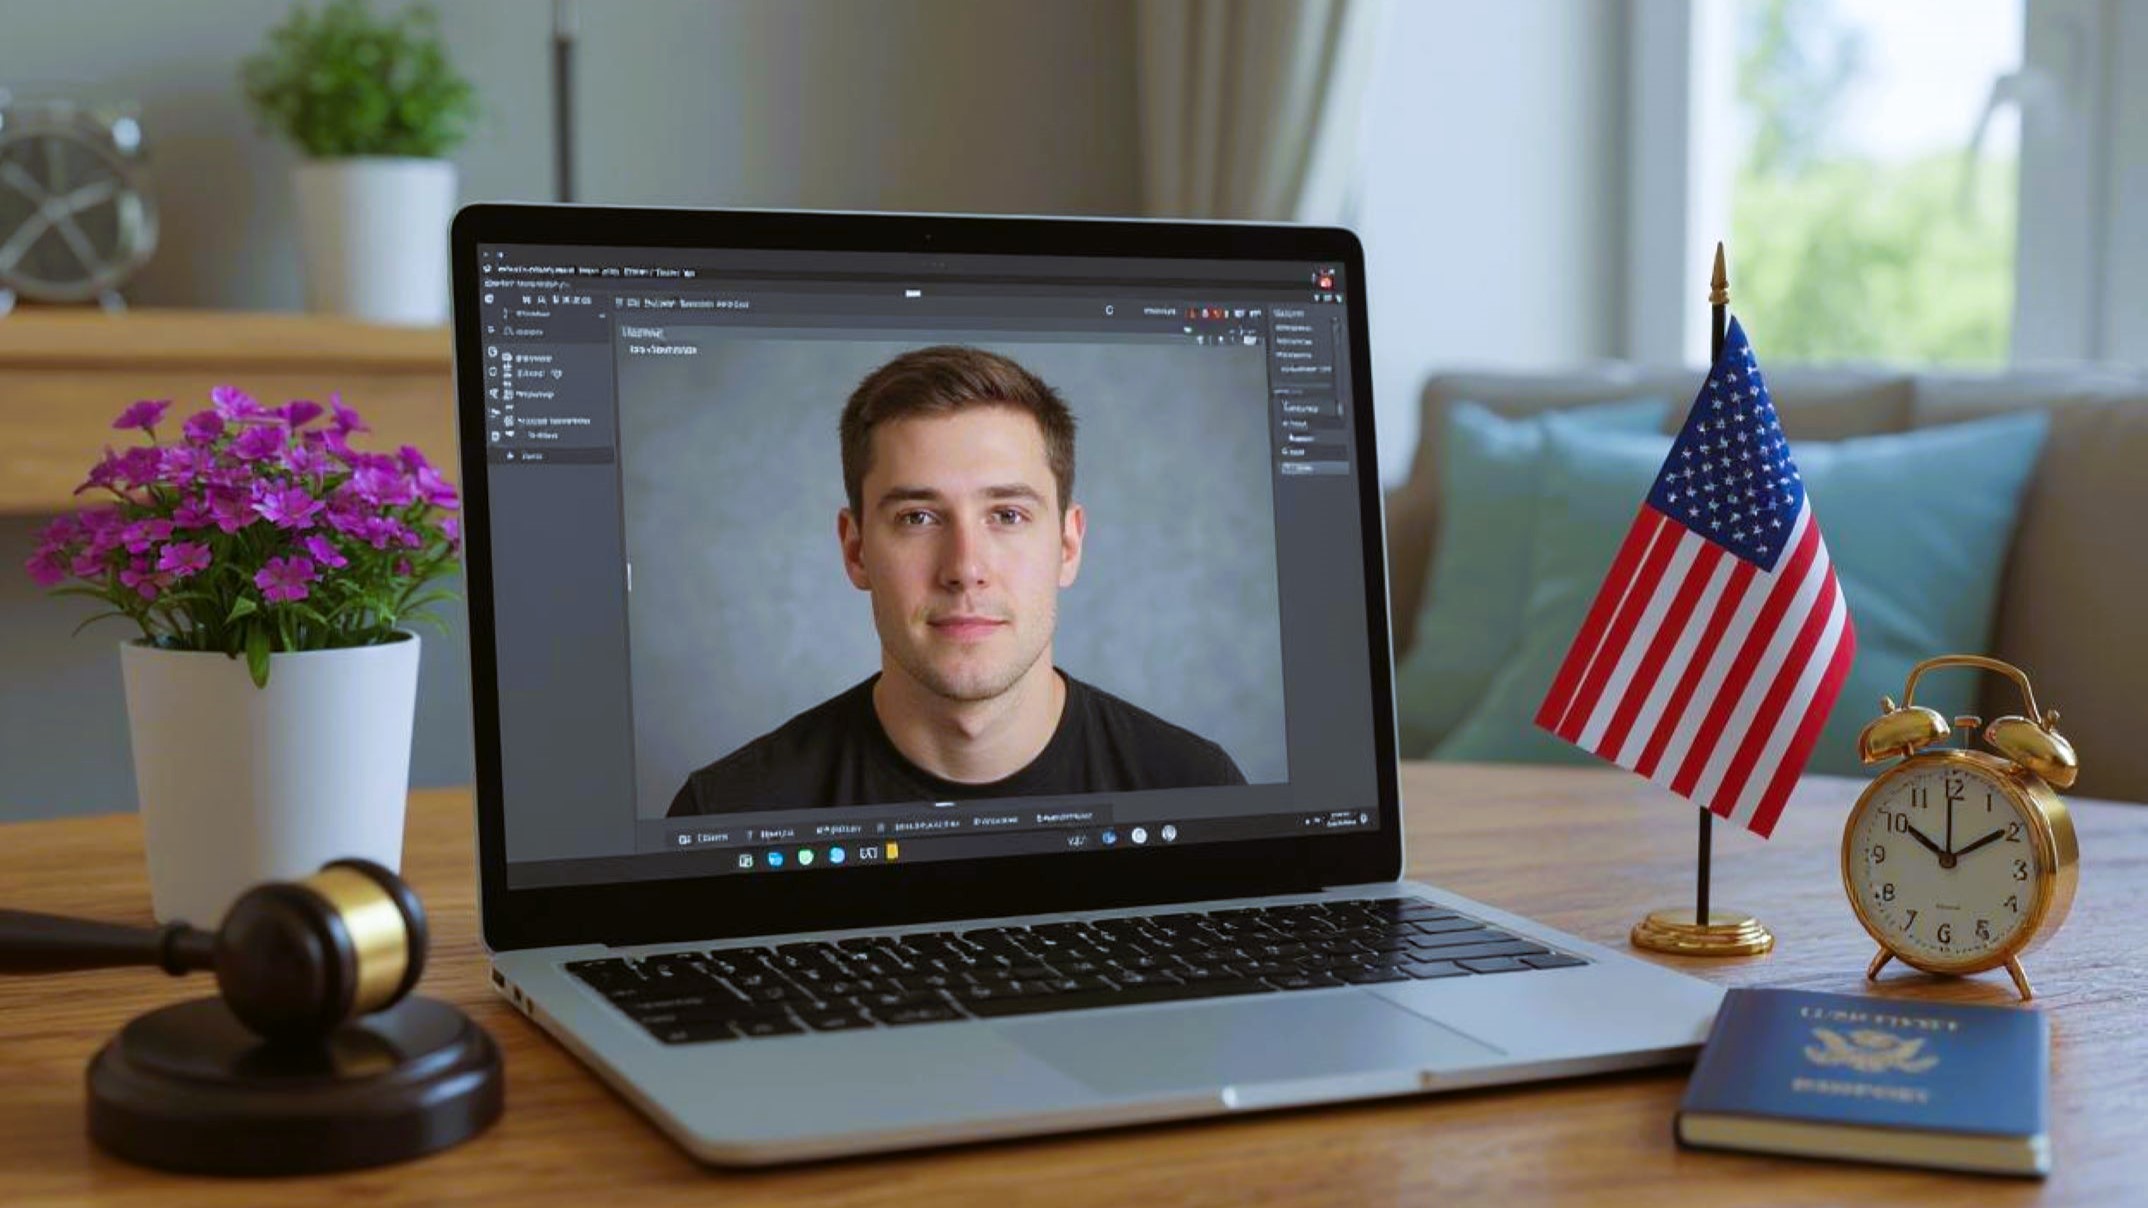
For your US passport photo in 2025, precise measurements are crucial. The official size of the photo must be exactly 2 inches by 2 inches (51 mm by 51 mm). This specific dimension is non-negotiable because it ensures your photo fits perfectly in the passport booklet and on any digital platforms used for identity verification. Additionally, the head size within the photo is just as important. The measurement from the bottom of your chin to the top of your head should be between 1 inch and 1 3/8 inches (25 mm to 35 mm). This range guarantees that your facial features are clearly visible and large enough to be recognized easily by both human agents and automated systems.
Background Color and Lighting
The background of your US passport photo must be plain white or off-white. No textures, patterns, or colors are allowed behind you. This requirement is important because it ensures that your face is the clear focal point of the image and prevents any distractions or misidentification. Shadows or objects in the background can interfere with facial recognition technologies and often cause photos to be rejected during the application process.
Lighting plays a significant role in producing an acceptable passport photo. The lighting should be even and bright enough to illuminate your entire face without creating harsh shadows or glare. Avoid overhead lighting that casts shadows under your eyes, nose, or chin. Similarly, avoid standing too close to the background as this can cause shadows behind your head. Ideally, use natural daylight or soft, diffused lighting to achieve a clear, shadow-free photo. Here’s what you should keep in mind:
- Use a plain white or off-white background.
- Ensure even lighting with no shadows on your face or behind you.
- Avoid colored or textured backgrounds.
- Prevent glare, reflections, or flash shadows.
Head Position and Expression
Your head position in the passport photo must be straight and directly facing the camera. This means your entire face should be visible from the bottom of your chin to the top of your hair. Your eyes should be open, clearly visible, and looking straight ahead into the camera lens. Turning your head slightly or tilting it in any direction is not acceptable because it can distort your facial features, making identification difficult.
Regarding your facial expression, a neutral look is required. This means no smiling, frowning, or exaggerated expressions. The reason is simple: passport photos are used for security and identification, so they must represent your natural, unaltered face. Think of it as if your photo will be stamped on your passport — it needs to be serious and consistent with official records. Here are the key points to remember:
- Face the camera directly.
- Keep your eyes open and clearly visible.
- Maintain a neutral expression—no smiles, frowns, or raised eyebrows.
- Make sure your face is fully visible with no obstructions.
Detailed Technical Specifications
Photo Resolution and Quality
The quality of your passport photo is just as important as its size and background. The photo must be high resolution, meaning it should be sharp and clear without any blurriness or pixelation. A low-quality photo can cause problems because the facial details—such as skin texture, eye color, and fine lines—need to be visible to allow for accurate identity verification. Whether you are submitting a printed photo or a digital file, the image must be crisp.
Poor lighting, camera shake, or low camera quality can all contribute to a photo that is not up to standard. To avoid this, use a high-quality camera or smartphone with good lighting and a steady hand or tripod. Make sure to preview your photo at full size to check for any fuzziness or lack of detail. Remember, passport authorities will reject any photo that is blurry or distorted.
Color vs. Black and White Photos
Only color photos are accepted for US passports as of 2025. Color photos provide much more detailed and accurate information than black and white images, which is essential for identity verification and security. Color helps show natural skin tone, eye color, hair color, and any distinguishing marks, all of which assist border agents and automated systems in confirming your identity.
Black and white photos are strictly prohibited because they reduce the amount of information available and can increase the risk of errors or fraud. If you submit a black and white photo, your application will be rejected, causing unnecessary delays. Always ensure your photo is in color and accurately represents your natural appearance.
Digital vs. Printed Photos
Both digital and printed passport photos are accepted, but each has its own requirements. If you are submitting a digital photo, it usually must be in JPEG format and under 240 KB in file size. The digital photo must be free from compression artifacts and pixelation. It should be well-cropped to meet size specifications, and the background should meet the white or off-white requirement.
Printed photos must be printed on high-quality photo paper with a glossy or matte finish. The paper should be thick enough to avoid wrinkles, creases, or bends. Avoid printing on regular office paper or anything that can easily smudge or fade. Ensure the printed photo is free from any damage, discoloration, or marks. Here’s a checklist:
- Digital photos: JPEG format, max 240 KB, high resolution.
- Printed photos: Printed on quality photo paper.
- Avoid creases, bends, or marks.
- Both must meet size, background, and clarity requirements.
Clothing and Accessories Guidelines
What to Wear for Your Passport Photo
When it comes to choosing the right clothes for your US passport photo, simplicity and everyday wear are your best bets. Avoid anything too flashy, patterned, or uniform-like because it can distract from your face or blend into the background. Uniforms are generally prohibited unless you wear them daily for religious reasons, in which case they are acceptable. Solid colors tend to work best because they provide a nice contrast against the required white or off-white background, making your face stand out clearly in the photo. It’s also a good idea to avoid overly bright or reflective fabrics that might cause glare or highlight inconsistencies under the lighting conditions.
The goal is to present a natural and clear image of yourself. Wearing normal, comfortable clothes that you’d typically wear in your day-to-day life will help you achieve that. Keep in mind that the passport photo is for official identification, not a fashion shoot, so understated and neat attire will serve you well. If you’re unsure about what to wear, sticking to neutral or darker solid colors usually works perfectly.
Rules on Glasses and Headwear
Starting in 2025, US passport photo guidelines have become stricter regarding glasses. Glasses are not allowed in photos unless there is a legitimate medical reason. If you must wear glasses due to a medical condition, you need to provide a signed statement from a medical professional explaining this. The reason behind this rule is to avoid glare or reflections on lenses that can obscure your eyes, which are critical for identification.
Headwear is allowed only if it is worn daily for religious purposes. Even then, the headwear must not obscure any part of your face, including the forehead, eyebrows, or chin. This ensures your facial features remain fully visible for verification. Avoid hats, scarves, or other accessories that cover your hairline or face unless they are religious garments. This rule balances respect for religious freedom with the need for clear identification.
Makeup and Facial Hair Considerations
Makeup should be kept natural and minimal in your passport photo. The purpose of the photo is to represent your true appearance, so heavy makeup, dramatic contouring, or brightly colored cosmetics can change your natural look and lead to possible rejection. Think of makeup as something to enhance your natural features softly without altering them. A good tip is to use matte products to avoid shine, which can create glare in photographs.
Facial hair is allowed in the passport photo as long as it does not cover or obscure any part of your face that needs to be visible, especially your eyes. Mustaches, beards, and sideburns are perfectly acceptable, but make sure they do not cast shadows or block your eyes, nose, or mouth. Remember, the key is clear visibility of your facial features so that border control and other officials can easily identify you.
| Category | Allowed | Not Allowed | Notes |
| Clothing | Everyday wear, solid colors | Flashy clothing, uniforms (except religious) | Choose neutral tones for best contrast |
| Glasses | No glasses (unless medical) | Regular glasses | Medical exemption requires signed note |
| Headwear | Religious headwear | Hats, scarves covering face | Face must be fully visible |
| Makeup | Natural, minimal | Heavy, dramatic makeup | Matte finish preferred |
| Facial Hair | Allowed if not covering face | Obscuring eyes or facial features | Keep facial hair neat and visible |
Common Mistakes to Avoid
Blurry or Pixelated Photos
One of the most common reasons passport photos get rejected is poor image quality. A blurry or pixelated photo makes it difficult or impossible for officials to recognize your facial features. This can happen if you use a low-quality camera, move while the photo is taken, or use a digital photo that has been compressed too much. To avoid this, use a high-resolution camera or a modern smartphone with a good camera. It’s also helpful to keep the camera steady by using a tripod or resting your hands on a stable surface during the shot.
Before submitting your photo, zoom in and check that all the fine details of your face are visible — the texture of your skin, the color of your eyes, and the sharp outlines of your lips and nose should be clear. If any part of the image looks fuzzy or distorted, it’s better to retake the photo than risk rejection.
Incorrect Background or Shadows
The background of your passport photo must be a plain white or off-white color, free of any objects or textures. Shadows cast on your face or behind you are another common error that causes photos to be rejected. Shadows can confuse facial recognition software and make it harder for officials to clearly see your features.
To prevent shadows, use soft, even lighting from multiple angles, preferably natural daylight or soft artificial lights. Avoid standing too close to the background to reduce the chance of shadows falling behind you. Make sure the background is uniformly lit and completely free of patterns, colors, or objects.
Facial Expression Issues
Your facial expression in the passport photo must be neutral. That means no smiling, frowning, or any exaggerated expression. The reason for this is that a neutral expression provides the most accurate representation of your face for identification purposes. Smiling or other expressions can distort your facial features and make it more difficult for automated systems and officials to match your photo with your live appearance.
If you find it hard to keep a neutral face, think of it as a serious or official photo — like a driver’s license or ID badge photo. Keep your mouth closed, eyes open and relaxed, and avoid raising your eyebrows or tilting your head. A neutral expression is simple but effective.